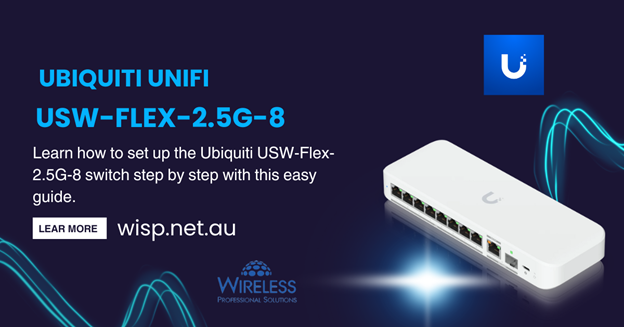
Setting up the Ubiquiti USW-Flex-2.5G-8 switch may seem complex at first glance, but with the right instructions, it becomes a seamless process. This compact Layer 2 switch is ideal for high-performance setups, providing eight 2.5GbE RJ45 ports and a combo 10G SFP+/RJ45 uplink port. Below is a detailed, step-by-step guide to getting your USW-Flex-2.5G-8 up and running effectively.

Step 1: Unbox and Inspect the Switch
Start by unboxing the device. Inside, you’ll find:
- USW-Flex-2.5G-8 switch
- Mounting hardware (wall, pole, or magnetic)
- USB-C power adapter (optional)
- Port cover for weather resistance (if used outdoors)
Carefully inspect all components for any physical damage before proceeding.
Step 2: Mounting the Device (Optional)
Depending on your setup, you can:
- Place it on a flat surface – suitable for desktops or racks.
- Mount it on a wall or pole – using the included hardware.
- Use the magnetic mount – perfect for metal surfaces.
For outdoor setups, install the rubber port cover before connecting cables to protect against dust and moisture.
Step 3: Power the Switch
The USW-Flex-2.5G-8 can be powered in two primary ways:
- USB-C Power Adapter
- Plug in a compatible 5V/3A USB-C adapter. This is ideal for desktop setups.
- PoE++ via Ethernet (Recommended)
- Connect an 802.3bt/PoE++-enabled Ethernet cable to one of the ports (typically port 1). This allows both power and data through a single cable, keeping your setup cleaner.
Watch for the LED indicator – a steady white light means the device is booting up, and solid blue means it’s ready.
Step 4: Connect Network Cables
- Plug the uplink cable (from your router or PoE switch) into any RJ45 port or the combo 10G SFP+/RJ45 uplink port.
- Connect your other network devices (computers, APs, cameras) to the 2.5GbE ports.
For outdoor use, make sure cables go through the weatherproofing port cover before connecting.
Step 5: Set Up the UniFi Controller
Download and install the UniFi Network Application on your PC, UniFi Cloud Key, or Dream Machine. Make sure your controller is running version 9.0.114 or later, as earlier versions might not recognize the switch.
Step 6: Adopt the Switch into the Network
- Launch the UniFi Network interface.
- Go to Devices and find the USW-Flex-2.5G-8 listed as “Pending Adoption.”
- Click Adopt.
- Once adopted, the LED will turn solid blue, indicating it’s fully integrated.
If you face connectivity issues, verify DHCP settings or manually set the controller’s IP address.
Step 7: Configure Network Settings
After adoption, customize your network through the UniFi dashboard:
- Port Profiles – assign VLANs or isolate traffic.
- PoE Settings – enable PoE passthrough if needed.
- Traffic Management – configure QoS, jumbo frames, and storm control.
- Monitoring – view real-time stats and traffic history.
Step 8: Test and Finalize Setup
- Test connectivity on all connected devices.
- Confirm PoE devices (like IP cameras or access points) are powered.
- Run speed tests to verify 2.5GbE performance.
The Ubiquiti USW-Flex-2.5G-8 is a powerful, compact, and efficient switch built for advanced yet accessible networking. By following these steps, you can have it up and running within minutes—whether for your smart home lab, office, or outdoor deployment.
